Dessert Tray Ideas: 10 Creative Ways to Arrange a Stunning Dessert Tray for Parties Like a Pro
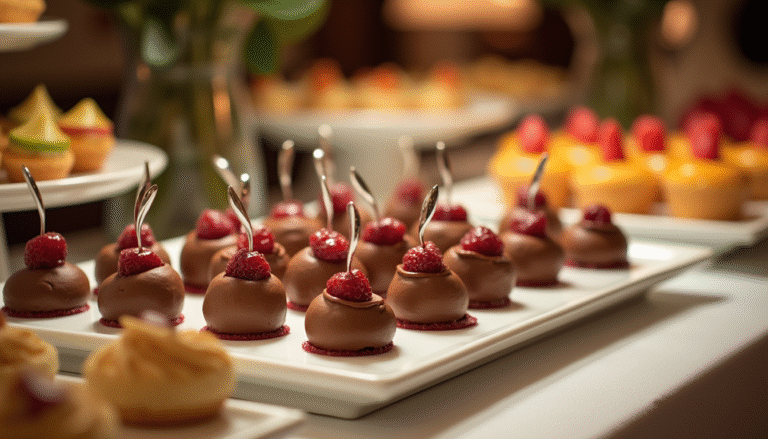
When it comes to hosting a successful party, one of the easiest and most enjoyable ways to impress your guests is with a beautifully arranged dessert tray. A stunning tray of sweets can be the highlight of your event, capturing attention and sparking conversation. But how can you go beyond the ordinary and make your dessert tray truly memorable? Whether you’re hosting a birthday celebration, a baby shower, or just a casual get-together, here are some creative ways to arrange a dessert tray that will leave your guests in awe.
Table of Contents
Why Presentation Matters: The Power of a Beautiful Dessert Tray
You’ve probably heard the saying, “We eat with our eyes first,” and it’s especially true when it comes to dessert. The visual appeal of your dessert tray not only makes a strong first impression but also enhances the overall experience. A well-arranged dessert tray can elevate your party, setting the tone for an elegant and memorable event.
First Impressions Count
A beautifully presented dessert tray catches the eye immediately. Whether it’s the rich color contrast of different sweets or the neat arrangement of mini treats, your guests will be eager to dive in. Research shows that attractive food presentation increases enjoyment and perceived taste by up to 30%. The aesthetic appeal can even make ordinary sweets feel extra special, leading to more compliments and social media shares.
Emotional Connection to Food
Food is not just about sustenance—it’s also about connecting emotionally with your guests. A dessert tray that’s thoughtfully arranged can evoke positive emotions, nostalgia, or even excitement. The act of arranging a tray with care shows your guests that you’ve put thought and effort into their experience, making them feel valued and appreciated. And isn’t that what hosting is all about?
Planning Your Dessert Tray: What to Consider Before You Start
Before diving into the creative process, it’s important to take a few moments to plan your dessert tray. Planning ensures that you meet the needs of your guests and create a tray that’s both beautiful and practical.
Know Your Guests
Understanding your guests’ tastes and preferences is key to building a dessert tray that everyone will enjoy. Consider the following:
- Dietary restrictions: Do any of your guests have allergies or dietary restrictions such as gluten-free, dairy-free, or vegan needs?
- Flavor preferences: Some guests might prefer fruity treats while others may lean toward chocolate or caramel. Knowing these preferences will help you select a well-balanced mix of desserts.
- Sweetness level: Some people enjoy rich, indulgent sweets, while others prefer lighter, less sugary options.
Match the Occasion
The type of party you’re hosting should influence the theme and presentation of your dessert tray. Here are a few ideas:
- Formal events: A more sophisticated tray with delicate mini pastries, macarons, and mini cheesecakes.
- Casual gatherings: Consider fun treats like cupcakes, chocolate-dipped fruit, and bite-sized cookies.
- Seasonal themes: You can align your dessert tray with the season. For instance, spring could feature pastel-colored treats, while fall might include pumpkin-flavored goodies.
Tray Size and Layout Planning
Think about the size of the dessert tray in relation to the number of guests. You don’t want to overcrowd the tray, nor should you make it so sparse that it looks unfinished. The layout is also crucial—will your guests serve themselves, or will you have someone assist with serving?
Sweet Combinations: Creative Dessert Tray Ideas for Parties
Now comes the fun part: choosing the desserts! A great dessert tray isn’t just a random assortment of sweets. Instead, it’s a carefully curated selection that appeals to various tastes and creates visual harmony.
Themed Dessert Trays
Themed dessert trays can help tie your entire party together. Here are a few ideas:
- Color-Coordinated Tray
A simple yet striking option for events like a baby shower or wedding. For a pink-themed baby shower, for example, you can arrange pink macarons, strawberry shortcake bites, and raspberry mousse. - Around-the-World Sweets
Take your guests on a sweet journey with international treats. Include mini baklava, macarons, churros, and Japanese mochi. Not only will this provide variety in flavor, but it also gives your guests something to talk about. - Rustic Charm
If you’re going for a rustic or cozy vibe, think wooden boards or trays with simple desserts like mini pies, homemade cookies, caramel popcorn, and scones. Add a touch of greenery with sprigs of rosemary or edible flowers for an extra pop.
Mix of Textures and Flavors
When arranging a dessert tray, variety is key. Make sure to include a good mix of textures and flavors to keep things interesting. Here are a few ways to balance the tray:
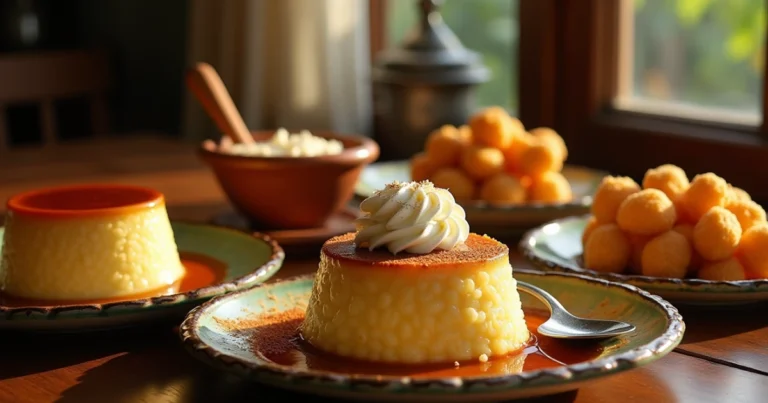
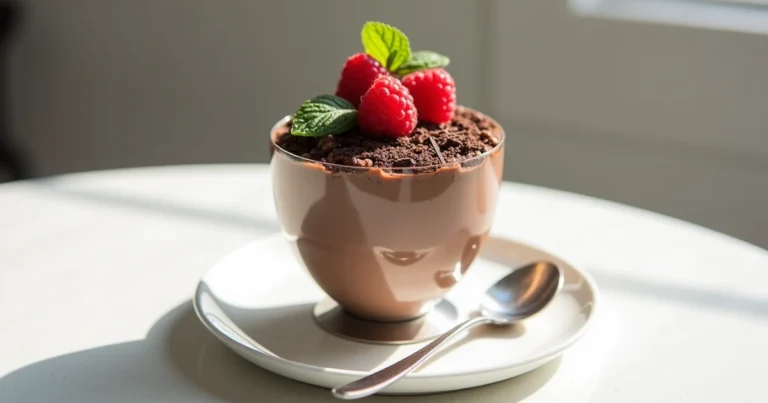
- Soft & Creamy: Think mousse, cheesecake bites, and tiramisu.
- Crunchy & Crisp: Include biscotti, almond-studded cookies, and brittle.
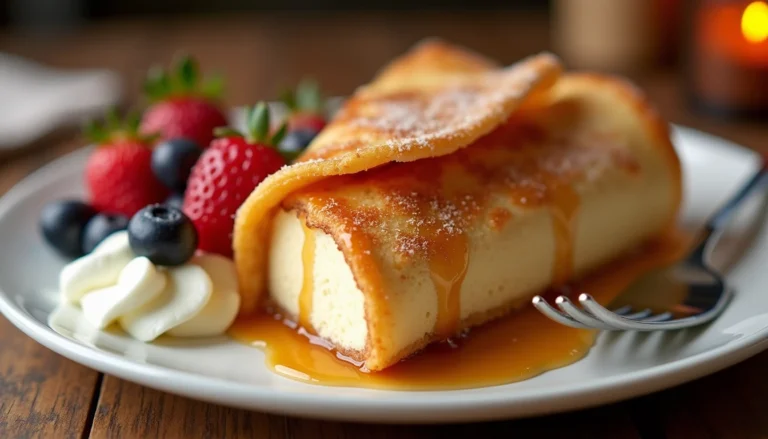
- Fruity & Tart: Tarts, mini fruit pies, and citrus-infused desserts provide a refreshing contrast to richer options.
- Sweet & Savory: Add a twist with items like chocolate-dipped pretzels or bacon-infused caramel candies.
How to Arrange a Dessert Tray Like a Pro
Once you’ve selected your desserts, it’s time to arrange them. The way you present your tray can transform it into a work of art.
The Rule of Thirds
A popular design rule is the “rule of thirds,” which divides your tray into three distinct sections. You can assign each section to a different type of dessert—chocolates, fruity treats, and savory or crunchy bites. This not only creates visual balance but also allows guests to easily navigate the tray.
Create Height and Layers
A flat, single-layer tray can look a little uninspired. To elevate your presentation, create height by using cake stands, small bowls, or ramekins. Layering also adds dimension. For example, place mini cheesecakes or cupcakes on a raised tier while filling in the rest of the tray with cookies and tarts at a lower level.

Use Visual Anchors
To create a striking focal point, place a larger or more visually interesting item in the center of your tray. A mini cake, a chocolate sculpture, or a stack of perfectly arranged brownies can serve as the main visual anchor. Arrange smaller items around this focal point for balance.
DIY Mini Dessert Recipes for the Perfect Tray
When it comes to crafting the ideal dessert tray, it’s essential to include a variety of bite-sized treats that are easy to grab and eat. Here are a few quick and simple recipes that can be prepped ahead of time.

Mini Cheesecake Bites
Mini cheesecakes are a crowd-pleaser, and they’re easy to make in muffin tins. Here’s a basic recipe for mini cheesecake bites:
| Ingredient | Amount |
|---|---|
| Cream cheese | 16 oz |
| Graham cracker crumbs | 1 cup |
| Sugar | ¾ cup |
| Vanilla extract | 1 tsp |
| Eggs | 2 |
Instructions:
- Preheat the oven to 325°F and line a muffin tin with paper liners.
- Mix cream cheese, sugar, and vanilla, then add the eggs.
- Pour the mixture into the muffin tin and bake for 15-20 minutes.
- Allow the cheesecakes to cool, then top with berries or a chocolate drizzle.
Chocolate-Dipped Fruit
Chocolate-dipped fruit is a simple yet elegant treat to include on your tray.
| Fruit | Suggested Dip |
|---|---|
| Strawberries | Dark chocolate |
| Pineapple chunks | White chocolate + coconut |
| Banana slices | Milk chocolate + crushed nuts |
Instructions:
- Melt the chocolate in a heatproof bowl over simmering water.
- Dip each piece of fruit into the melted chocolate, then place it on parchment paper to cool.
- You can sprinkle additional toppings like crushed nuts, coconut, or sea salt for extra flavor.
Dessert Tray Styling Tips from Experts
Even the simplest dessert tray can look stunning with a few tips from professionals.
Pastry Chef Recommendations
- “Use color contrast. Don’t put beige next to beige. It’s important to create visual interest with a variety of hues,” says Chef Dominique Ansel, a renowned pastry chef.
- “Layer textures like you layer clothes for style. Contrast soft, fluffy desserts with crunchy, crispy items,” advises Instagram influencer @BakingWithEm.
Essential Tools
- Offset spatulas for spreading frosting or ganache evenly.
- Mini tongs for guests to easily pick up delicate items.
- Decorative doilies or parchment paper to line the tray and add a finishing touch.
Common Mistakes to Avoid When Creating a Dessert Tray
Creating a beautiful dessert tray is easier than it seems, but there are a few common pitfalls you’ll want to avoid.
Don’t Overcrowd the Tray
While it might be tempting to pile on as many desserts as possible, overcrowding will make the tray look messy and reduce the impact of your display. Leave enough space between each item so that the individual desserts stand out.
Avoid Melty Items for Outdoor Parties
If you’re hosting your party outdoors or in a warm environment, avoid desserts that melt easily, such as buttercream-heavy cupcakes or chocolates that may lose their shape. Instead, choose sturdy options like cookies, brownies, and tarts.
Forgetting About Allergens
Always label desserts clearly, especially if you have guests with allergies or dietary restrictions. Offering allergen-free options in separate sections of the tray can help ensure everyone enjoys the treats safely.
Conclusion: Let Your Dessert Tray Tell a Story
A dessert tray is not just a collection of sweets; it’s an opportunity to tell a story, set the tone for your event, and show your guests how much you care. Whether you’re aiming for a rustic, elegant, or whimsical vibe, the right arrangement can transform your party into something truly memorable. With these creative ideas and simple recipes, you’ll be able to put together a stunning dessert tray that will leave your guests craving more. So, go ahead—get creative, and let your dessert tray shine!
FAQs: Creative Dessert Tray Ideas for Parties
How do I keep a dessert tray fresh for an outdoor event?
To keep your dessert tray fresh, use ice packs underneath trays or opt for a covered dessert stand to protect from heat. If possible, place the tray in a shaded area.
What desserts work best on a make-ahead tray?
Mini cheesecakes, brownie bites, cookies, and fruit tarts are perfect for make-ahead trays. These treats can be stored in airtight containers for up to 48 hours.
How many items should I include on a dessert tray?
Plan for 3–5 types of desserts with 2–3 pieces per guest. This provides a nice variety without overwhelming the tray.
Can I make a dessert tray on a budget?
Yes! Stick to homemade options like cookies, brownies, and fruit skewers, and decorate with simple, inexpensive items like powdered sugar, mint leaves, or edible flowers.
Your guests are going to love the thoughtful and creative touch you bring to the party with your carefully arranged dessert tray! Get started today and transform your next gathering into a sweet success!