✅ Dessert Board: 5 Easy Ways to Impress Your Guests
Imagine This…
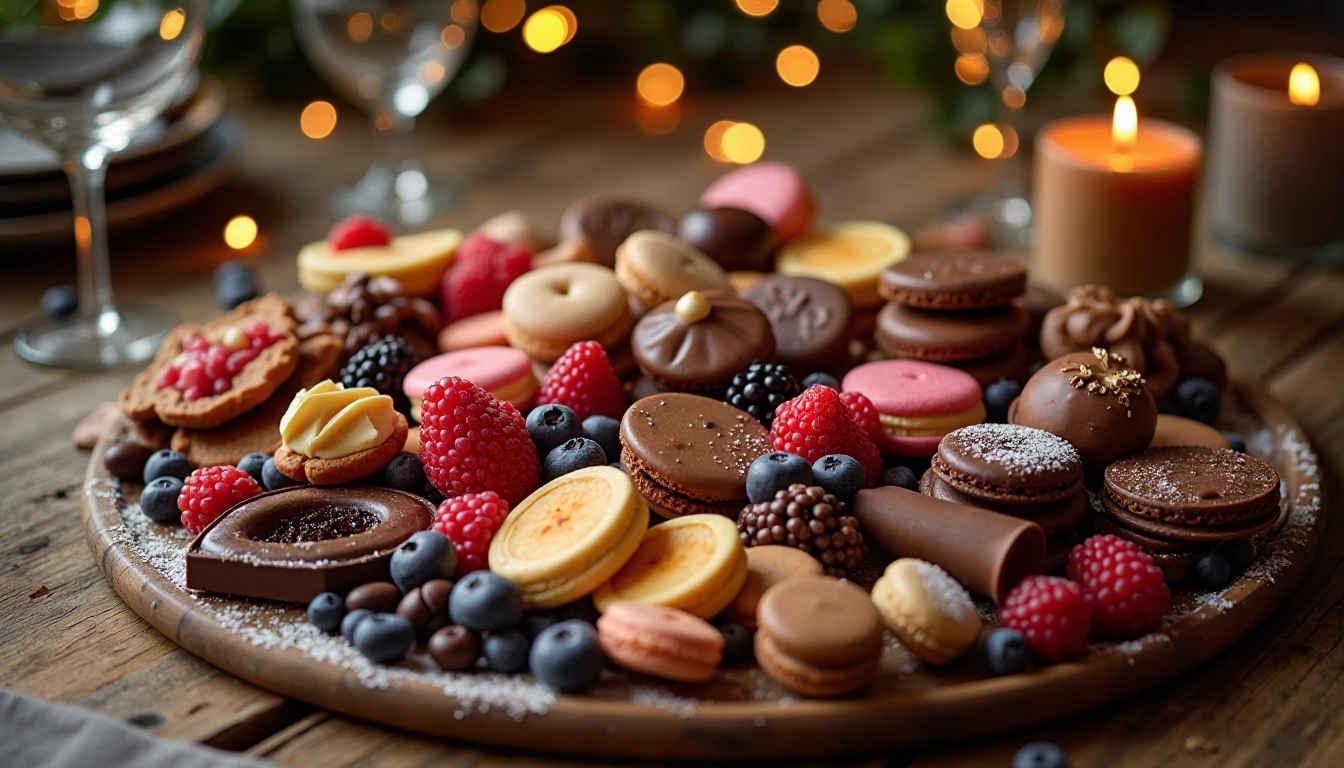
You’ve invited your closest friends and family over. The doorbell rings. Warm smiles flood in, laughter fills the air, and there, right at the center of your table, is something magical: a stunning dessert board piled high with colors, textures, and irresistible treats.
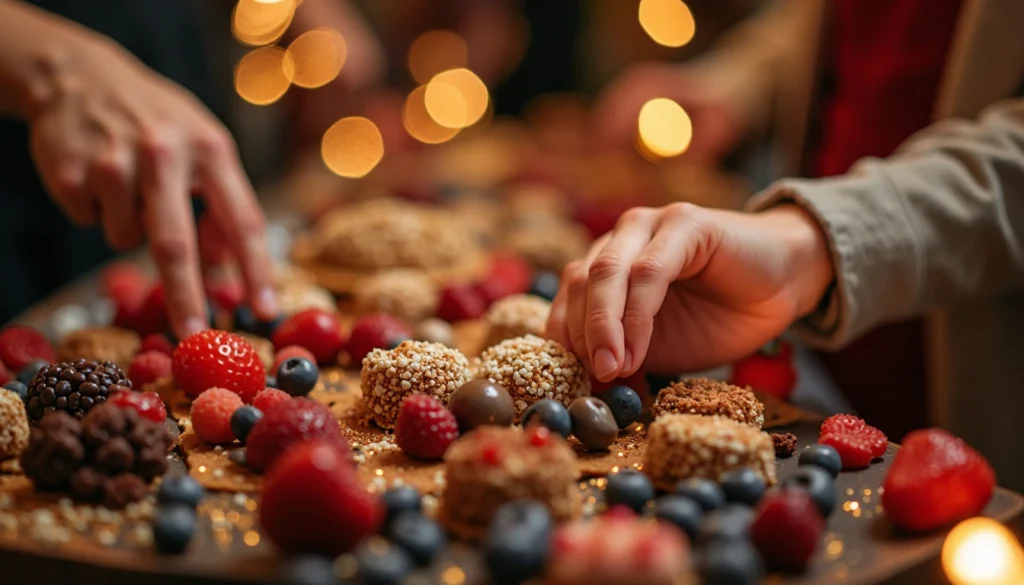
Suddenly, everyone’s crowding around, phones come out for photos, and your guests can’t stop raving.
Creating a dessert board like this isn’t reserved for professional bakers or gourmet chefs. You can craft an impressive spread easily, and today, you’ll learn exactly how to pull it off — even if you’re short on time or experience.
Table of Contents
What Is a Desserts Board and Why Should You Make One?
If you’ve seen charcuterie boards trending on Instagram and Pinterest, you already know the appeal: variety, beauty, and a little sense of indulgence. A dessert board takes the same idea, but swaps out meats and cheeses for chocolates, pastries, fruits, and candies.
Why should you make one? Because it’s simple, versatile, and guaranteed to leave a lasting impression. Whether you’re hosting a birthday bash, a cozy holiday gathering, or even a backyard brunch, a Sweet Platter elevates the atmosphere without the stress of baking multiple desserts from scratch.
5 Easy Ways to Create an Impressive Dessert Board
Building a jaw-dropping Sweet Platter doesn’t require fancy skills. Follow these five simple strategies, and you’ll have a masterpiece ready in no time.
1. Start with a Stunning Base (Dessert Board Presentation)
Your board is your canvas — and the better the canvas, the more your sweets will shine. Choose something that fits your vibe: rustic wood, sleek marble, trendy slate, or even a colorful ceramic tray.
Tips for Choosing Your Base:
- Use a board large enough to fill, but not so big that it looks empty.
- Line it with parchment paper or a linen cloth for extra style.
- Add small stands or bowls to create different levels for visual interest.
Pro Tip: A tiered cake stand at the center can add height and instantly make your Dessert Platter Look more professional.
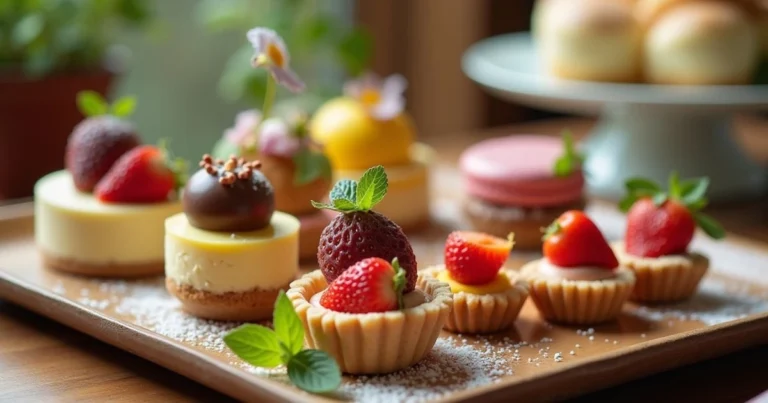
2. Mix Textures and Flavors (Dessert Board Ideas)
Nothing keeps guests reaching back for more like an exciting mix of textures and flavors. You’ll want to think beyond just sweets—incorporating salty, crunchy, creamy, and chewy elements keeps every bite interesting.
Incorporate These Varieties:
- Soft: Brownies, marshmallows, mini cupcakes
- Crunchy: Biscotti, pretzels, candied nuts
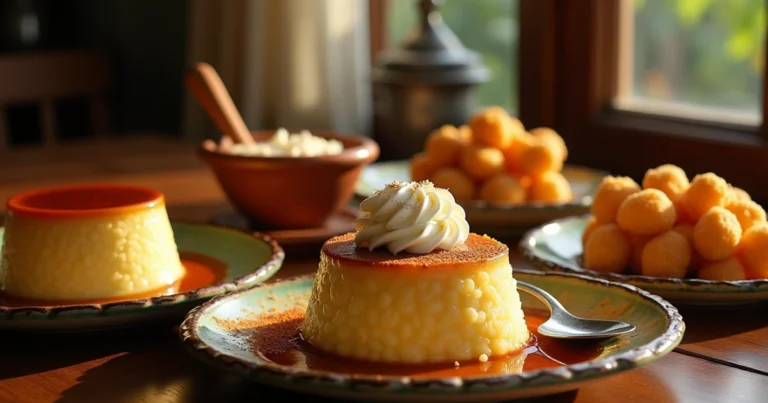
- Creamy: Cheesecake bites, whipped cream, mousse
- Fresh: Strawberries, raspberries, figs
You can mix store-bought favorites with homemade touches for the best of both worlds. No need to bake everything from scratch — focus on creating a rich sensory experience instead.
3. Incorporate Seasonal Ingredients (Seasonal Dessert Board)
You can make your Dessert Spread feel even more special by weaving in seasonal touches. This not only makes everything taste fresher but also naturally matches the colors and mood of your event.
Seasonal Ingredient Ideas:
| Season | Ingredients |
|---|---|
| Spring | Lemon bars, pastel macarons, strawberries |
| Summer | Watermelon wedges, coconut truffles, blueberries |
| Fall | Caramel apples, pumpkin cookies, pecan pies |
| Winter | Peppermint bark, gingerbread, candied cranberries |
When you shop locally and seasonally, you’ll notice a big difference in flavor — and your guests will too.
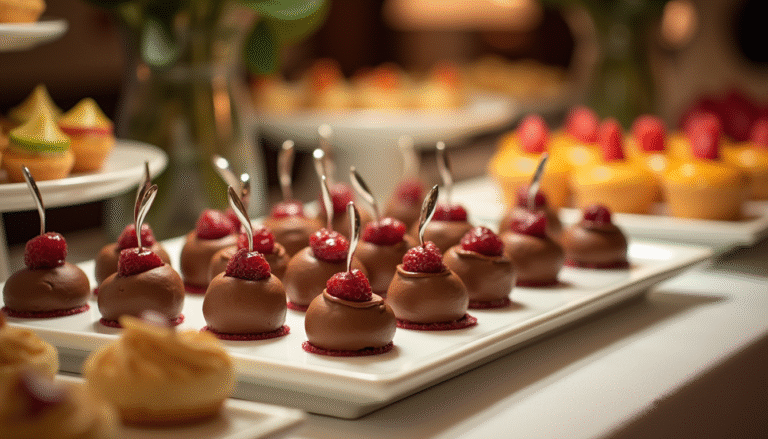
4. Play with Color and Theme (Themed Dessert Board)
A coordinated color palette can take your Dessert Spread from good to jaw-dropping. You don’t have to stick strictly to one color, but choosing 2-3 shades will help everything feel cohesive.
Theme Examples:
- Holiday: Red, green, and white for Christmas; black and orange for Halloween
- Baby Shower: Soft pinks, blues, and whites
- Birthday Bash: Bright, bold rainbow hues
- Rustic Picnic: Natural tones like beige, chocolate, cream, and berry
Use colorful fruits, macarons, candies, and edible flowers to hit your color scheme naturally — no artificial food dyes needed.
5. Personalize It with Special Touches (Custom Dessert Board)
Finally, the cherry on top: personalize your dessert board. Custom details show your guests you’ve gone the extra mile — and it’s easier than you think.
Easy Ways to Personalize:
- Monogrammed cookies with guests’ initials
- Tiny labels or hand-written tags for each dessert
- Miniature bottles of champagne or sparkling juice
- Vegan, gluten-free, or nut-free sections clearly marked
You could even set up small goodie bags nearby so guests can take a few treats home. Little gestures like these transform a fun evening into a truly memorable one.
Sample Ingredient Table for a Perfect Dessert Board
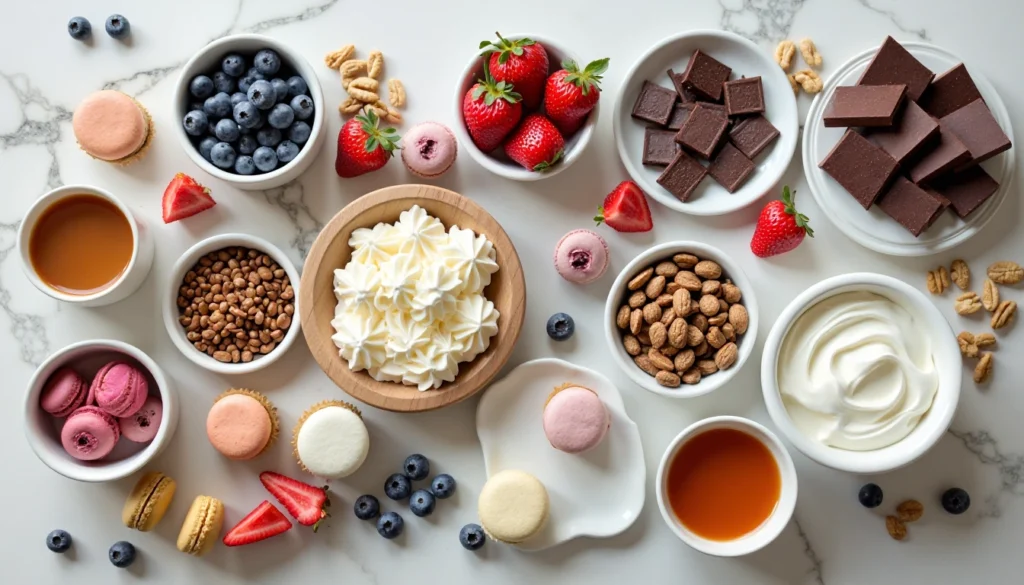
Here’s a simple guide you can follow when picking items:
| Category | Examples |
|---|---|
| Fruits | Strawberries, grapes, blueberries |
| Chocolates | Truffles, dark chocolate squares |
| Cookies & Bars | Mini brownies, sugar cookies, macarons |
| Candies | Gummy bears, fudge, salted caramels |
| Nuts | Almonds, pecans, candied walnuts |
| Extras | Whipped cream, caramel sauce, sprinkles |
Helpful Tip: Always overestimate how much chocolate you’ll need. It somehow disappears faster than anything else. 🍫
Pro Tips for Assembling Your Dessert Presentation
(Dessert Board Assembly)
Before you dive in, a few quick pointers will make your job easier:
- Prep Ahead: You can slice fruits and portion candies the night before. Store them separately in airtight containers.
- Layer It Up: Start with the biggest items first (cakes, bowls, larger cookies) and build around them.
- Fill Every Gap: Empty spaces look uninviting. Fill gaps with nuts, berries, or chocolates.
- Keep It Fresh: If your party is outdoors or lasts several hours, keep perishable items like cream puffs on a chilled tray.
Small details — like stacking cookies into tiny towers or twisting licorice into spirals — go a long way visually.
Conclusion: Your Secret Weapon for Hosting Success
A thoughtfully crafted dessert board doesn’t just satisfy a sweet tooth — it sparks conversation, invites curiosity, and creates those “wow” moments you want guests to remember.
With these five easy strategies, you’re ready to whip up a Sweet Treat Board that feels effortless yet extraordinary. Whether it’s a last-minute celebration or a carefully planned event, your board will set the stage for an unforgettable gathering.
Go ahead — pull out that beautiful serving board, unleash your creativity, and let your desserts steal the spotlight!
Frequently Asked Questions (FAQ)
How do you keep a dessert board fresh?
You’ll want to prep items like fruits last and cover your board lightly with plastic wrap if setting it out ahead of time. Refrigerate perishable items until the final 30 minutes before guests arrive.
What size board should you use for a dessert board?
It depends on your crowd.
- Small: Serves 4–6 people
- Medium: Serves 8–12
- Large: Serves 15+
Choose a size that allows you to comfortably fill every inch without overcrowding.
Can you prepare a dessert board in advance?
Absolutely.
You can slice fruits, arrange candies, and bake cookies a day ahead. Assemble the bulk of the board a few hours before the party, adding delicate or chilled items right before serving.
What are the best themes for a dessert board?
You can match your dessert board to just about any event:
- Holidays (Christmas, Halloween, Easter)
- Birthdays
- Baby or bridal showers
- Graduation parties
- Backyard barbecues
Themes make your dessert board feel extra thoughtful and instantly tie your party together.
Our Expert Picks for You
Now that you’ve mastered the Dessert Board: 5 Easy Ways to Impress Your Guests, here are some hand-picked recipes you should try next:
Custardy French dessert NYT crossword: 7 Amazing Clues That Will Surprise You
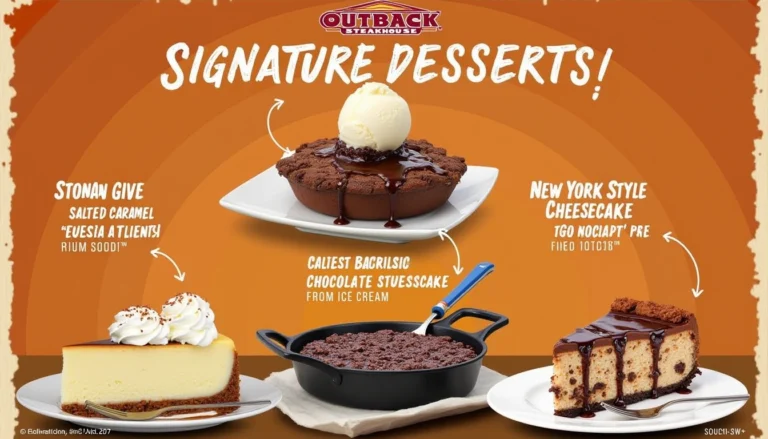
Outback Steakhouse Desserts: 7 Unforgettable Treats You Have to Try
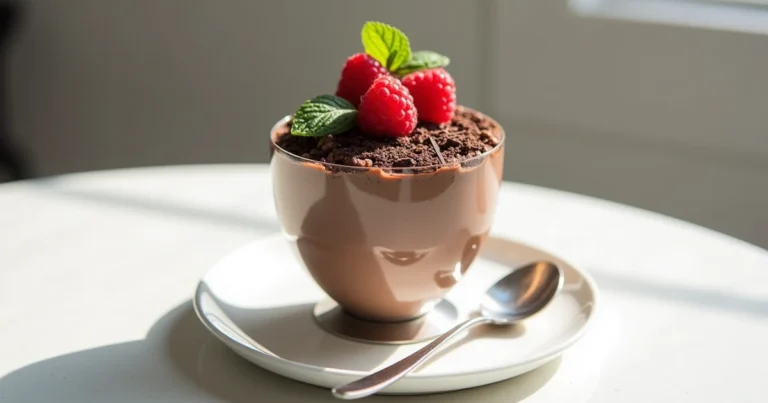
5 Compelling Reasons the Gense Dessert Cup Is Absolutely Worth It”
Top 5 Traditional Cuban Desserts to Try: Discover the Sweet Heart of Cuban Culture
🎯 Call-to-Action
Ready to craft a dessert board that steals the show?
Start planning your ingredients today, and don’t forget to snap a photo of your creation! 📸
Share your masterpiece with us using #DessertBoardMagic — we can’t wait to see your sweet creations!